Microsoft OneDrive
NOTE: Due to the frequency of updates provided by Microsoft, some of the following information may change over time. Changes may include visual changes, changes to location of options, etc. However, the fundamental steps will remain the same overtime.
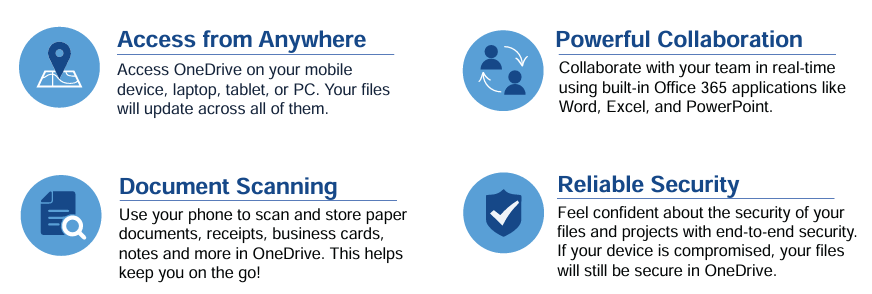
As an LMC user, your OneDrive account has up to 1TB of free storage space. You can upload a wide variety of file formats and edit Microsoft files (Word, PowerPoint, Excel) directly in your browser. To get started...
Create a Folder to upload Files to
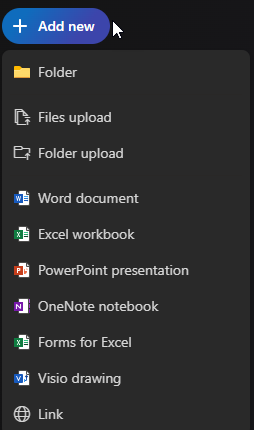
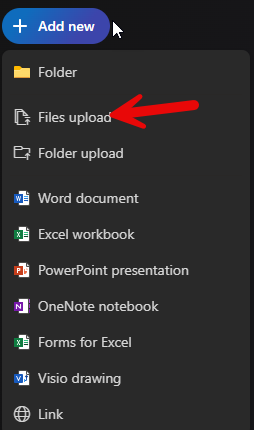
1. On the Menu at the top of your screen, click New. A drop-down list will appear.
2. Click on the Folder option.
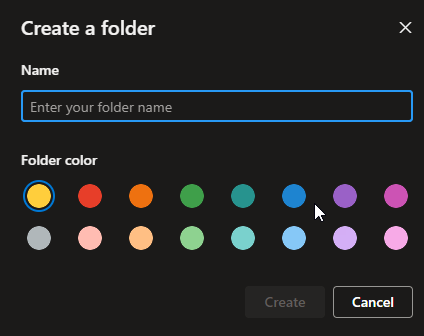
3. Give your folder a name and click Create.
Uploading a File or Folder
You can upload a file or a whole folder from your device into OneDrive.
1. Click the Upload option at the top of your screen. Or drag the file from your desktop/email into the appropriate folder and skip steps 2-4.
2. You have the option to upload a File or Folder. Choose the option that you would like (the corresponding process is the same for both options).
3. Select the file(s) or folder(s) from the location they are stored in your device.
4. Click Upload. Your files are now stored in OneDrive.
If your file cannot be previewed in OneDrive, a message will be displayed on your screen which says “This file cannot be opened.” If this happens, you will have to download the file to view it. View the section below for instructions on how to download a file or folder.
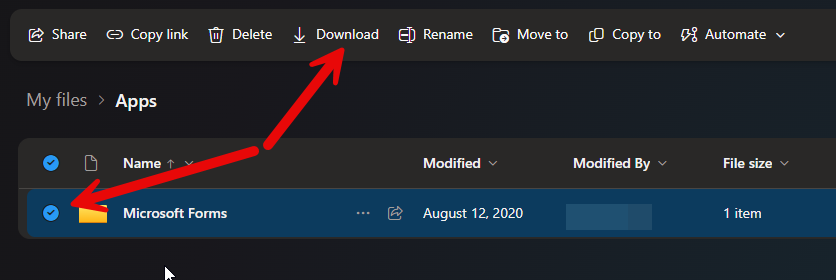
1. Hover your mouse over the file or folder you would like to download.
2. To the left of the file or folder you are hovering over, a white circle will appear. Click the circle. The circle turns blue with a check mark inside of it. Repeat this process to select multiple files or folders at a time.
3. Click the Download button at the top of the screen. Your file(s) or folder(s) will download.
Share a File with Someone
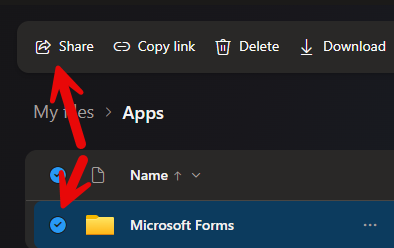
1. Hover your mouse over the file or folder you would like to share.
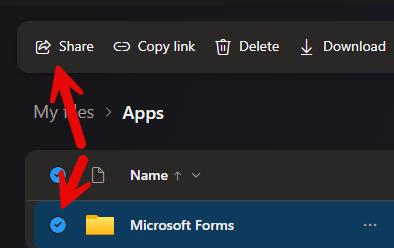
2. To the left of the file or folder you are hovering over, a white circle will appear. Click the circle. The circle turns blue with a check mark inside of it.
3. Click the Share button at the top of the screen.
4. Enter the person’s email address or (if you have added them to our Outlook Contacts) enter their name.
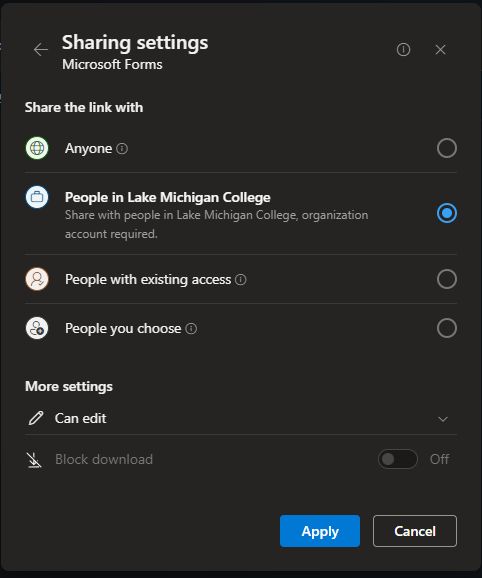
5. Click Anyone with the link can edit to change the permission level you want to give to the individual. You have the following options: Can Edit (make any changes to the document) and Can View (Cannot make changes, but can view).
6. Once you have chosen the Permission setting(s) you prefer, click the Apply button.
7. Additionally, you can choose who to share the document with:
- Anyone: Anyone with the link can access the document (Use with caution, as it can make the document publicly available to anyone that has the link)
- People in Lake Michigan College: (Only individuals with an LMC username can view the document. Use Caution, as anyone with an LMC login can view the document if they have the link).
- People with Existing Access: Only those that the document has been previously shared with will have access. If the link is accidentally sent to others, they will not have permissions to view).
- People you choose: You can choose individuals with an LMC login. You can also choose external individuals, such as contractors or other third party individuals that are assisting with a project. Use caution, as if the email is typed incorrectly, you could give unauthorized access to someone).
- Note:
7. Click the Send button to share the file with the selected individual.
You can share files and folders with users whether they are in your organization or not. This is especially useful when you trying to share a file that is too large to send via email. Simply share the file with them through OneDrive and they can view, edit (with permission), or download the file on their own device. You can also remove permissions at any time.
Additional Features
Do more on the go with OneDrive for your mobile device. Create, view, edit, and share files from wherever you are. Easily capture whiteboards and scan work receipts, business cards, or other paper documents to store them in OneDrive and not have to worry about losing the physical copy.
OneDrive Mobile Application
OneDrive is available for Android and iOS users to install on their mobile devices. The app allows you to access (and edit or share) all of your OneDrive files from wherever you are. You can also scan whiteboards, business cards, or documents and save them to your OneDrive so you don’t have to worry about losing the physical copies or writing down quick notes. To get started with the mobile app, search for OneDrive in the Google Play Store or the Apple App store and install it.
Scan a whiteboard, document, business card, or photo
Now you can scan whiteboards, business cards, or documents with the OneDrive app, and automatically save them to your OneDrive for later use.
1. In the OneDrive app, tap Scan (you can also tap Add at the top of the screen, then tap Scan). (To exit out of Scan mode without scanning anything, just tap the left arrow icon in the upper left corner of your screen).
2.Select the appropriate flash setting (on, off, automatic, or torch) by tapping the Flash icon in the upper right corner.
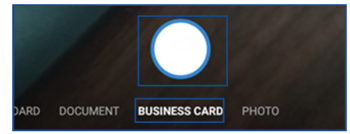
3.Select either Whiteboard, Document, Business Card, or Photo, then tap the white circle icon to scan the item. (On smaller screens, you may need to swipe left to see the Photo option).
4.Once you've scanned your item, you can crop it, rotate it, add text, or highlight part of it. (If you don't like the image, tap the left arrow icon in the upper left to delete the scan and try again).
5.Once you're done editing your item, tap Done.
6.Enter a file name, then tap Save. The file is saved as a PDF in your OneDrive.
Related content
Office Hours Room C229: Monday-Friday 8:00 am - 5:00 pm | Call us 269-927-8189
